Showing posts with label weathering. Show all posts

Sunday, 12 May 2019

Engine Shed POLA-600 HO/00

And now for something completely different.

 My dad set up his model railway board recently, for the first time since I was a child. I offered to paint something for him to add a little character to the board. He gave me an old train shed and asked if I could paint that.

This didn't take long. It isn't my finest work. But it was nice to be able to help out my dad.


I kept the roof reasonably boring, but had fun with the metals and verdigris. Is it even verdigris on iron? Probably not, but it needed the colour contrast, rather than browns of rust merging in with the body of the model.


I'm not sure why you would put your coal, spare wheels and a ladder all next to each other - but as there's literally no other place to put them ... there they go.


Adding funky colours for mold is fun. Blues and greens leaking through the brickwork helps to break up the larger surfaces.

The windows were a stinking mess, with the clear plastic being scratched something awful. To counter this, I added lots of weathering to make it look like they were dirty - achieved with lots of weathering powder and isopropyl alcohol. Then I took a cue tip with water on it to create dirty swirls to look like they were badly cleaned.


How old is this kit? Old enough that it was manufactured in West Germany and on my dad's gaming board in the mid-eighties. This post also has the worst tags possible.

Plot twist.

It turns out this was originally my kit, and I started assembling it before growing bored of the hobby. Which means at 35 years between build and paint, it's accidentally my longest ever hobby project.

Your move, fellow procrastinators.

Friday, 23 February 2018

TTCombat: Vending Machines

Back after a short break from online activity to recharge batteries and focus on real world bits and bobs.

These were a lot of fun! Slightly fiddly MDF kits to build, but once assembled they're great.


I pondered how to approach the front panels, as my ability to paint super fine detail is lacking, and opted to go for transfers. The aim was to capture that slightly frantic feel of vending machines in sci-fi settings like Blade Runner, Fifth Element or anything that ends up set against a Neo Tokyo backdrop. Where language doesn't matter, it's driven by iconography - so there's representation from Ork, Necron and Eldar in here.

A note for the purists. These won't see a lot of use in 40k, so using a mix of different faction decals didn't bother me. Long-term they're going into another sci-fi project, where my heinous mix matching of symbols won't break canon!

I went nuts on the weathering, so there are lots of chips, dents, rust and generally a feeling of well past their prime. You probably wouldn't rush to spend your money in these machines, or would eat anything dispensed by them with a healthy dose of caution.

Highly recommend this kit if you're looking for non-combat terrain pieces.

Friday, 29 September 2017

Armored Containers

On the back of my success with the TTCombat scenery, it was time to hit the 40k containers I picked up. Same colours, same techniques with the only difference being the position of the highlight at the top - it's now running through the middle rather than the edges. That's not how it would work in reality, but it looks better on the table.


I haven't glued the doors shut on the containers yet. Once that's done, it's quite permanent so they'll remain open a little longer. The purpose is primarily line of sight blockers but I do like the idea of having some flexibility as a passageway or hiding objectives in them. We'll see ...

Lessons learned. I'd do the highlights in tighter circles along the top, so the support struts would remain uniformly dark and been the patterning the focus - rather than just a long continuous highlight.

Saturday, 23 September 2017

Shipping Containers

I finished something! You can tell I've had a few days off to work on projects. We needed more colour and line of sight blocking terrain on the gaming board, so I went to town on weathering up some scenery bought earlier this year.

These are from TT Combat and I really like their MDF terrain range - it's a good price, easy to throw together and turns out looking reasonable if you put the effort in.


I had forgotten how hungry for paint MDF can be, so getting them to the point of readiness took a lot longer than their GW plastic equivalents. But the results are good and I got to play with the same techniques as my Space Wolves - so black primer, dark and light brown undercoats, varnish, chipping medium then the base colour + highlighting and shading.

There's a few more pieces in the pipeline with a little more detail so they'll turn up next month at current rate of progress.

Thursday, 27 July 2017

Space Wolves: Primaris Ancient

My first finished Primaris Marine for the Space Wolves, and it's the Ancient standard bearer.


I've tried to give the banner a feel of embroidery on the raised surfaces and hopefully that comes across in the photos. It's probably the single most complex thing I've painted this year, due to all the fine detail and how it interacts with the other pieces.

Details to note. This is one of three figures where I'm working out the colour scheme and what to paint, and how. Senior figures, from squad sergeants and up, will have yellow kneepads to distinguish them from normal squad members, which should make removing the correct figures from the board a little easier.

This took a lot longer than expected, but it feels right. Happy that the basing scheme looks good (phew) and while there are obviously some parts that I can go back and improve on for the next Marine, this is a good starting point.

Sunday, 23 July 2017

Space Wolves: Primaris progress #2

My Space Wolves are advancing, slowly. I hit a low point last weekend when after spending so much time painting grey, when I realised they were pretty much back to sprue grey - which feels like you haven't achieved anything despite the time spent.

However! After edge highlighting, chipping and shading I'm at this stage with a couple of the test troops.


Pardon the wobbly photo, but hopefully it gives an idea of how much weathering I'm attempting to apply. This also helped to give me afirmation that this is the effect and style I want in these troops - they've reached the battlefield and thrown themselves in at the deep end.

Adding the redish brown as the shade helps to lift the greys, as it was quite desaturated with the cool greys, and this gives some much needed definition. Next up is adding highlights under a few of the larger and medium sized chips, then painting the shoulderpads and knees with chapter colours.

Picking out suitable heads to bring that Space Wolf feel to the figures is key, and rummaging through my bits box has yielded a lot more heads than I thought ...


27 heads there and there were another ~10 heads available, but they didn't sit correctly inside the armour and I've discarded those for this project. The next challenge is working out which head fits best with each figure to give the right feel. Hooded models like the Captain and Inceptors need shorter hair, whereas the Intercessors can afford the crazier Viking/anime haircuts.

There's a painting competition at my local GW next weekend, and one of these figures needs to be finished. Upside: it's next weekend. Downside: I only have until Wednesday night as I'm away next weekend. This will be entertaining for a serial procrastinator like myself.

Saturday, 15 July 2017

Terrain, and weathering with chipping medium

Well this was a more productive weekend than expected ... here's all the scenery finished up!


A reminder that this is all from the wonderful Crooked Dice, just to give them the recognition they deserve for such excellent pieces. If it has an orange earth then it's from their Junk Piles range, and if it doesn't then it's from the Drum & Crate Barricades selection.

Initial attempts at using the chipping medium didn't yield the results I wanted. My first attempts were only successful in spreading paint around instead of removing it. Bit of (metaphorical) hair pulling and reading, and this excellent tutorial by Tibbs, which covers it succinctly. In short, I was doing it wrong. Not just dabbing the area with water but soaking it then taking away the excess. After that, it's sharper objects like toothpicks that yield the best results and taking away

Here's a few close-up shots to see detail a little better - but I'm happy with the final result of pieces and the natural weathering effect the chipping method provided.


Terrain everywhere. So much of it.

Thursday, 13 July 2017

Space Wolves: Primaris progress

... or how to spend seven hours feeling like you've achieved nothing. NOTHING.

After priming my marines, I wanted to weather them differently to how my other marines have been done. The old method was sponge dabbing the chips on, but this time I wanted to try a different method - chipping medium.

First step is to apply two different browns on the models - starting with all over Dark Fleshtone, then covering a random 50% of each model with Parasite Brown.


Out of shot, I've applied the same process to arms, legs and other missing pieces. But you don't need to see those in the test shot.

After this, a full coverage of Vallejo's Chipping Medium - which works surprisingly well straight through the airbrush from the pot. Then it's Dark Grey Blue to cover everything so no brown is visible.


So after two full sessions I'm now back to sprue grey! Brilliant. Well done me, what a great use of time.

It's a little demoralising at this point to realise nothing appears to have changed, but I'm hopeful the next few stages will help change that impression. This approach takes a little longer in the preparation but I'm hopeful the extra effort is worthwhile, and will look great on the support vehicles later too. Bear with me, future posts should be more interesting - but this feels like an important stage of the process.

Before the chipping begins, I've also started painting some terrain pieces to act as my test area for this technique. It's designed to be debris and ruins, so if everything goes horribly wrong at this point ... it doesn't matter so much! This makes me feel better than trying it straight on the marines and failing hard.


Shout out to the excellent Crooked Dice for their junk piles and containers shown above, they're great scenery pieces and the range they had on display at Salute 2017 was excellent. Perfect test material for new techniques. Ignore the ork shaman in the corner. He's for another post at some point :)

I played with a few test colours to get an idea of how I want the highlight stages to go - and below is the very, very rough sketch of colour transitions.


This moves from pure Dark Grey Blue up to pure Wolf Grey, with a few inbetween steps. Just to stress, the above is only a sketch to let me see each colour over the top of the last. My hope is the final version will be a lot smoother!

Thursday, 24 December 2015

Infernal Golem and painting glowing blades

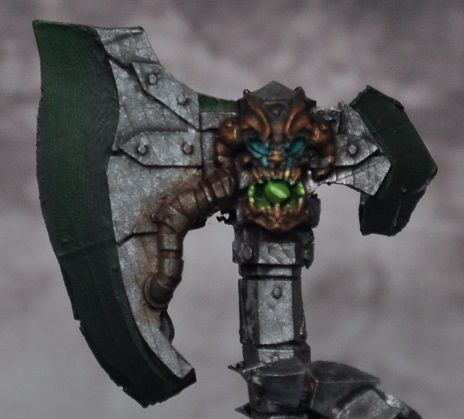
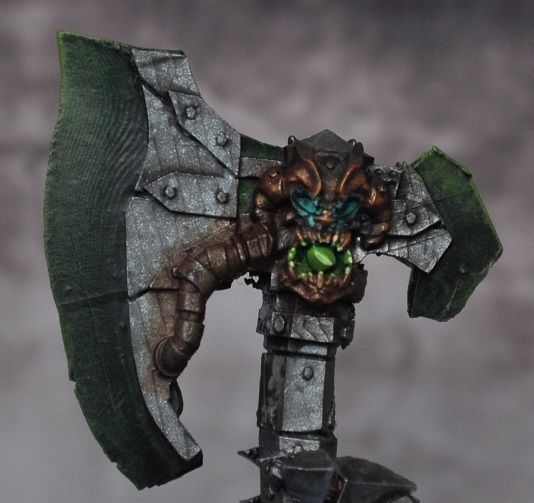
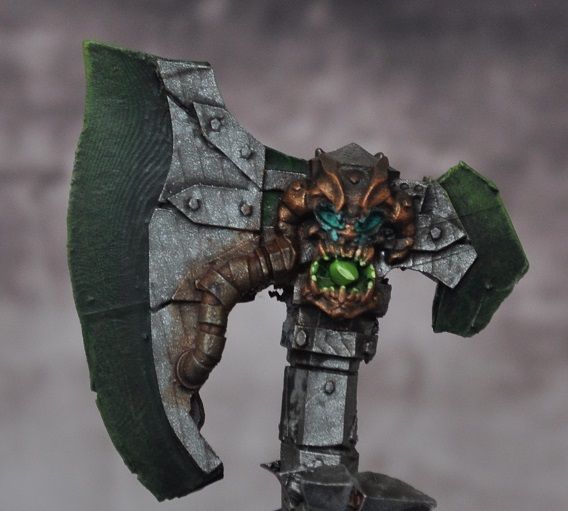
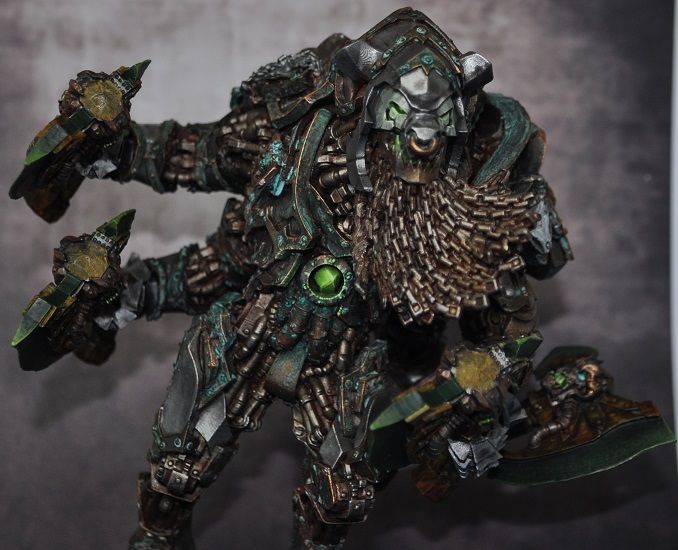
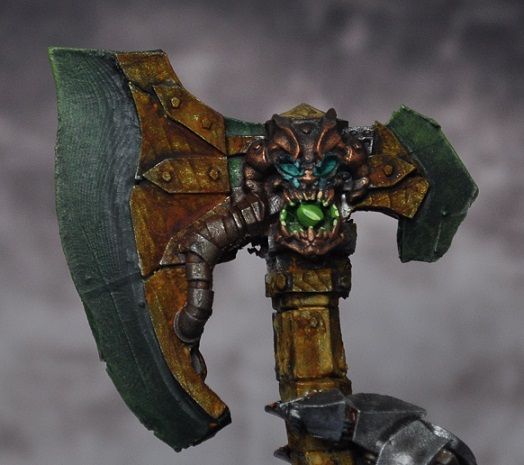
So, I got ahead of the Christmas wrapping curve, and was able to make a little progress with the big man today. While I remain undecided on how to proceed with the blades, I did manage to reach a happy mid-point where it's not pure black, and does echo the greens of the embedded stones. I realised they put me in mind of warpstone from Warhammer Fantasy, so have proceeded to paint the blades as though they'd been fashioned with that same magic. A flying step-by-step for how I got the effect.

Basecoat the blade with Dark Green, then a dark brown wash into the recess

Drybrush with Goblin Green then Livery Green along the edges

Smooth down with a Dark Green glaze

Go bananas with the rust effect to see how it looks ...

Glue the damned thing together, even though it's not finished.

Still quite a bit to do, but it's nice to see the model taking shape and I'm happy with the progress! Alright, it won't be winning awards but I've had fun painting it :D Needs highlights adding back on the metals, but now I'm undecided whether to stick with the blades as is, or crack on with the original plan ... I may wuss out for the time being and leave it as is. Once finished and matt varnish is applied, they could benefit from gloss varnish being added to give an onyx-like feel.
As I've kept the OSL quite soft on the stones, despite their size, I'm not sure how much I'd apply from the blades back to the body, but will chew on it over the festive season. Also - now it's assembled I've realised that the weight of this figure is an issue. It's unbalanced and leaning forward heavily - which is how the sculpt requires it assembled, but now I need to counterbalance at the back to stop it tipping over.

Progress now paused for a few days, so Merry Christmas one and all!

Monday, 9 November 2015

Guild Ball, Infernal Golem and bases

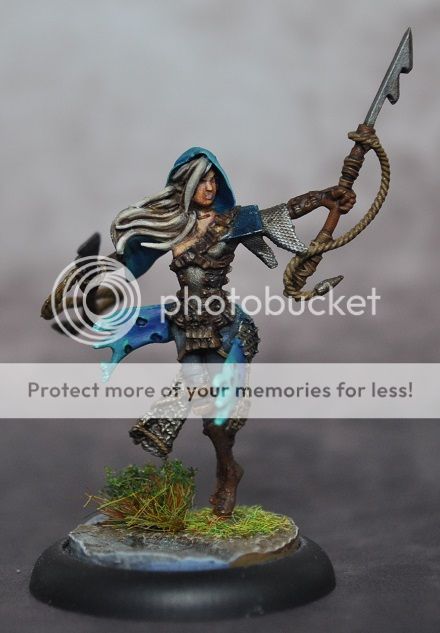
I've finally decided Siren's finished.


But ... am I happy with it? No. I realised if it isn't at least painted up and on the table, it could be an eternity before it makes it there. Face still bugging me, and after looking back - the browns are far too similar and run into each other. Upside? Hair better than it was, and after taking advice I went back to a light brown then worked up - sadly it's a little too far into white for blonde now and gone full Rogue (movie version) but that's alright - chalk it up to happy accident.

Sash around the waist was a pleasant success for my first attempt at wet blending in quite some time. However, she'll still look ace on the table ... so on to the next one!

Well, almost. My attempt to procrastinate finishing off the rest of my Guild Ball Fishermen has been going well. This is a figure picked up at Salute this year and it practically fell onto the painting table. It's a brute of a piece and a manufacturer I wasn't aware of before the show. Behold the Infernal Golem.


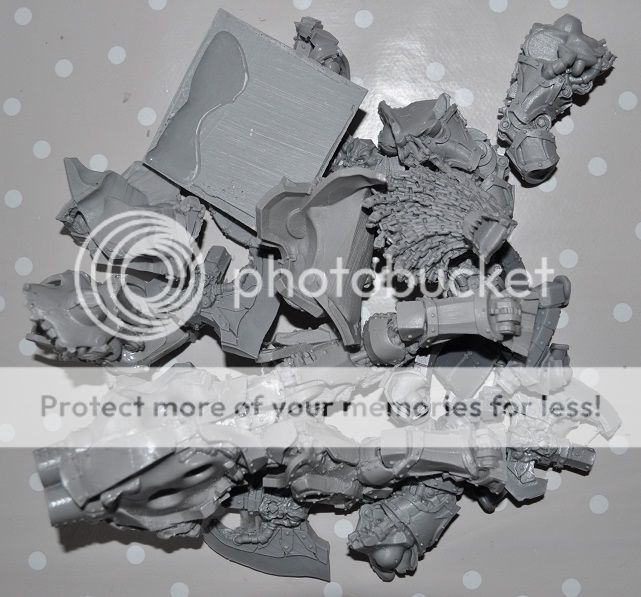
All cleaned up, and boy there's a lot of pieces here. Needs to think about what to do with all this now, some dry fitting and planning required.

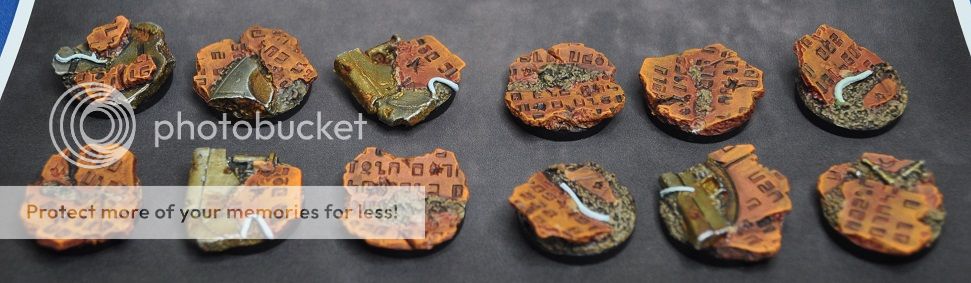
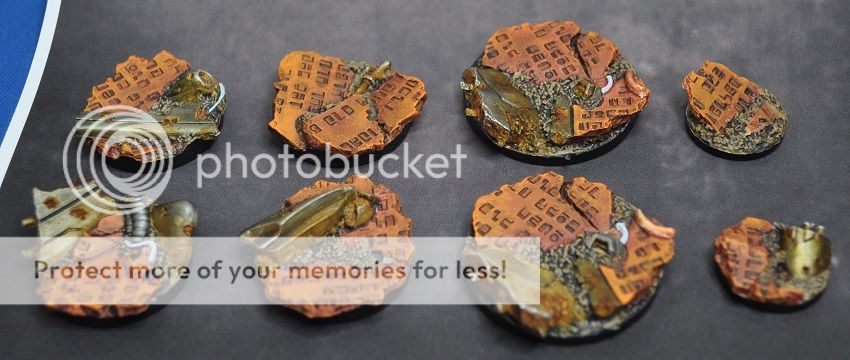
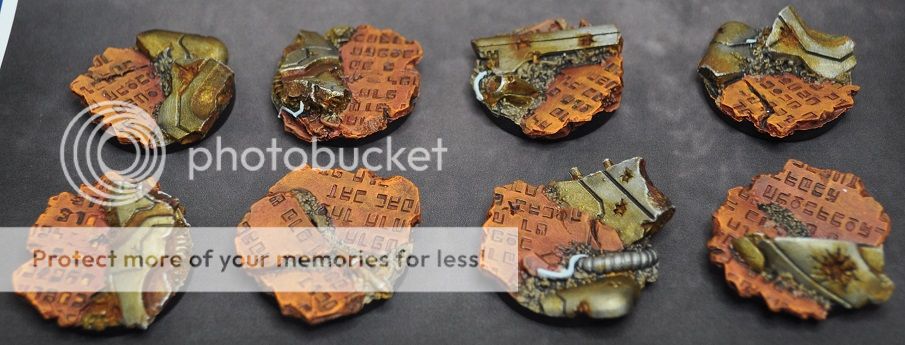
To pass the time, I've finished up a set of the CMON bases from a Kickstarter - love these!


They'll sit patiently on the side to be used when adding more civilians to the earlier Colony 87 set. Nice to get them wrapped while I remembered the colour choices from the last time.