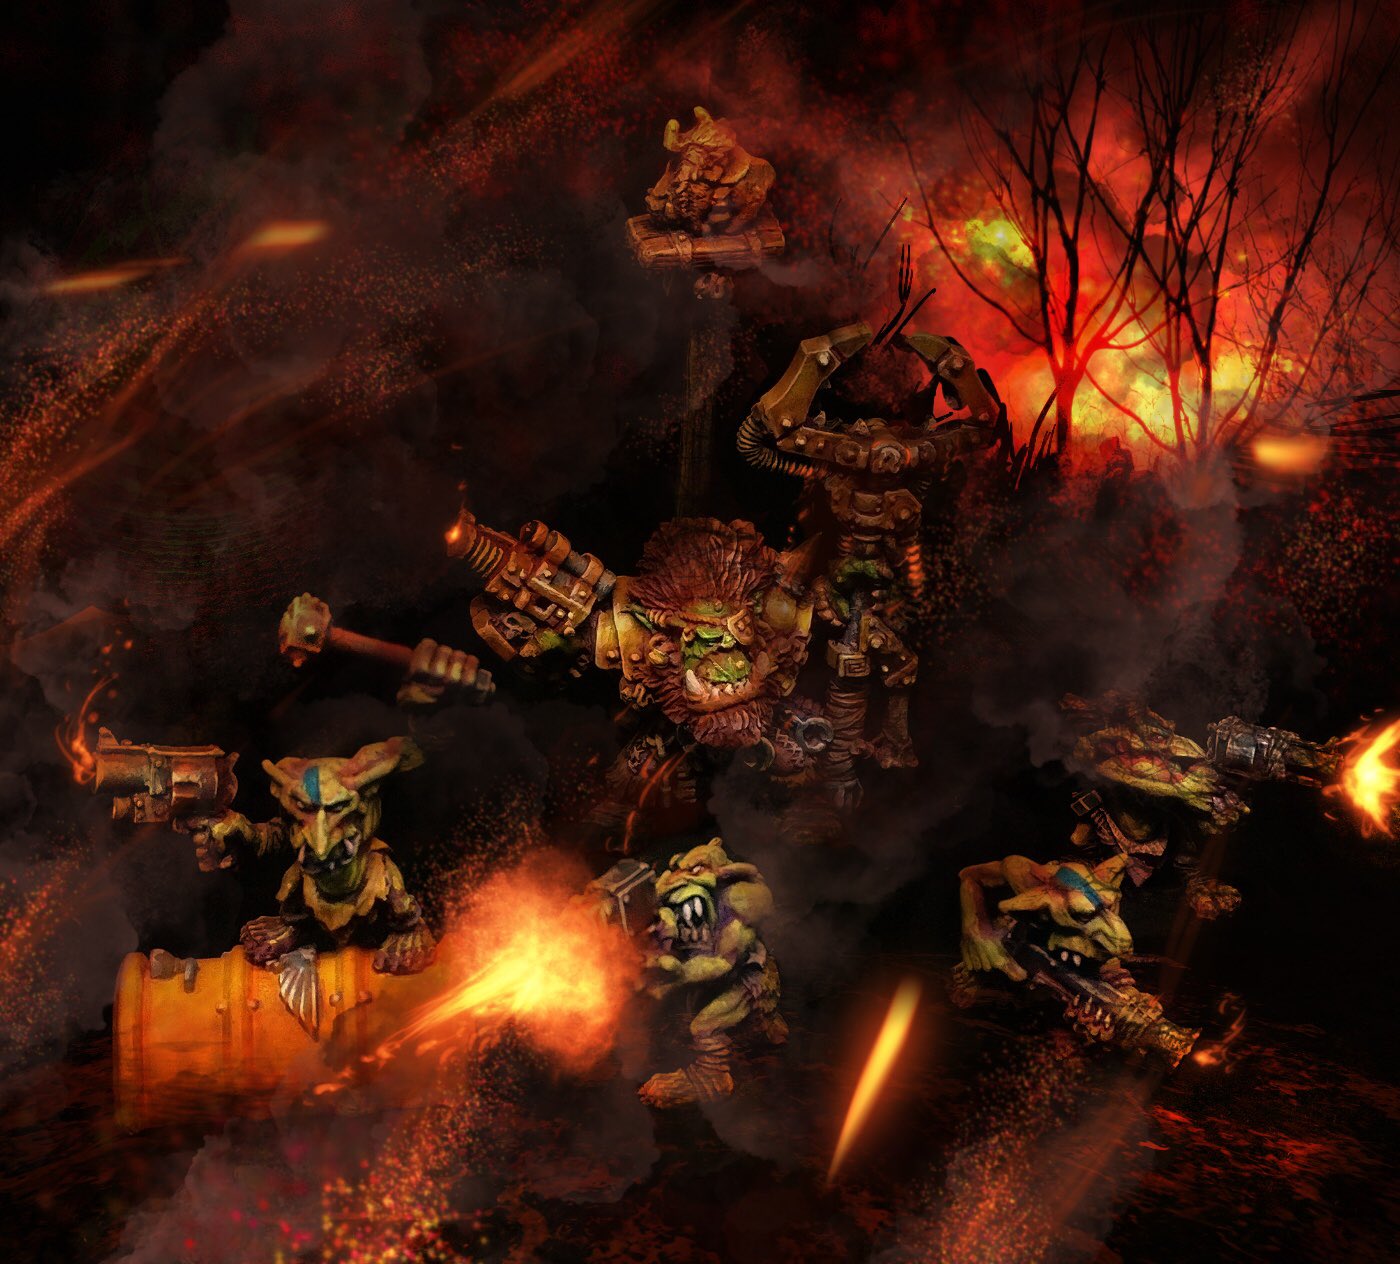
My love of Orks was rekindled in October/Orktober, after painting the Bad Moon Warboss and I set myself the challenge of trying to build a whole Ork army in time for the Armies on Parade deadline of late November.
Below are the shots of the prep phase of the project, with a lot of explanation steps.
But ... why an army? Why a month? Here's the reasoning.
I've looked at Armies on Parade for a few years, and keep coming up with reasons to procrastinate, instead of joining the fun. This year I wanted to join in the fun, but felt just putting a board together for my Space Wolves was a bit of a cheat, and wanted a different project.
My backlog of unpainted miniatures is pretty big. Despite now painting more than I buy, it's still a large pile of unpainted and unassembled models. This is a shame, because there's plenty of cool models in there - and quite a few Orks!
I've invested in coaching this year with the excellent Aleksandra & Marko of Craftworld Studio. The goal has been to improve the standard of my painting, add vibrancy and be less comfortable and conservative in painting. As a byproduct, I've also significantly improved the speed of my painting for tabletop level, through better understanding of colour choices and technique and thought a few units would be cool.
If you aren't pushing yourself in new ways, you don't build new skills and muscles. This is me pushing myself.
Work in Progress and Explanation
There were a couple of badly assembled vehicles in the pile - a Battlewagon, Trukk and what was a Rhino in a previous life. Looking back, I think these were an attempt to stretch the Ork bits to get most value and add a bit of character. With hindsight, it just comes as a mess, and doesn't add anything
"I wonder if I have any Ork bits in the spares box" ... yes, yes I do.
Four oldhammer Space Ork characters stripped of the paintjobs by Past Me and ready for painting by Future Me. Holy moly there was a lot of paint and varnish on these.
I had the Space Ork Raiders box back when it was first released. No idea whatever happened to it, but picked up this one on eBay for about £20 a couple of years back. Bit of a bargain. In addition, there's quite a few Orks by other companies in here, but I'm ignoring those for this project to stay GW-specific.
Ork Trukk was missing the front cab, so I had to kitbash from what was available. I couldn't find the panels for the sides of the carriage at the back until realising they had been used to extend the width. *sighs quietly* What was I thinking.
This is the "honesty shot" to demonstrate the table full of unassembled, unpainted models in late October. Football result
So many Orks.
Trying to make sense of the madness, with trays dividing up left arm, right arm, torsos, legs, heads, non-GW elements and so on. Then trying to avoid heavy repetition of heads in each unit to add some much needed variety.
Now it's starting to come together. Good tip for taking off mould lines is get a big emory board to deal with the evident lines, especially on metal figures. It will save you wear and tear on your precious files. Think about it the same way as brushes - try to use the biggest version of the tool you can.
The classic Space Ork Raiders, reunited with a colleague of theirs who was painted 3.5 years ago, and he'll be stripped and updated too.
Another honesty shot and showing off the freshly stripped models. I'm a big fan of Biostrip goop for all my models. I dip a figure in, put it into a small bowl and just throw figures into the bowl until full. Leave overnight, run a bowl of hot water, take a piece out and scrub with a cheap toothbrush until the paint's gone. Repeat for infinity.
Starting to look like an army now, it's time to prime!
Investing in a spray booth was required, and glad I did earlier this year. This was a LOT of priming. Everything primed in Vallejo Mecha Black Primer. I find this better and a more consistent product, and less "bitty" that their standard Black Primer, and it costs the same. After priming, leave to cure overnight to really grip the surfaces and provide a solid base for colours.
A second priming stage of white to add brightness to the upper surfaces. I'm not showing every unit on the shot, simply because there's so many and it doesn't really help. But you can see it creates a solid shadow and explains the shapes/volumes better.
I then sprayed the black areas with a purple, Hexed Lichen, and added matte varnish. This adds colour interest into the shadow areas, quickly, and will be a foundational colour in a number of other choices later on. If I can avoid a pure black paint in a recess, I will.
The two main Ork vehicles are reassembled into something near their original formal. Albeit with tracks and wheels on the wrong vehicles - but that was too major a fix to deal with, so we're going to stick with this setup.
Now, over the white primer, I spray red, Aldebaran Red, and matte varnish. So now we've got a good colour mix happening, with some overlapping tones between the red and purple and an interesting basecoat for the darkest areas of both shadows and highlights. The matte varnish dampens the red a little.
At this point I dropped my airbrush from 40 PSI to 20 PSI and started adding my base yellow, Scrofulous Brown, in a more careful fashion. I leave some of the red and purple in the deepest areas, and actively avoid creating perfectly smooth transitions in all areas. That's important to me, as I want mixes of colour in different areas.
Where I've been too thorough, the red can be reintroduced into recesses during the hand painted stage, which will be part two of this.